Key Takeaways
- Solar power can significantly reduce electricity bills and carbon footprint.
- Key components of a home solar setup include solar panels, inverters, batteries, and charge controllers.
- Assess your energy needs to determine the size and number of solar panels required.
- Understand the legal requirements and incentives available in your area for solar installation.
- Regular maintenance ensures your solar system operates at peak efficiency for years to come.
Shining Light on Easy Solar Power Setup for Your Home
Solar power is not just a buzzword; it’s a practical solution to reducing your energy bills and taking a step towards a sustainable future. Whether you’re looking to cut down on your carbon footprint or become energy independent, setting up a solar system at home can be a rewarding project. And guess what? It’s not as complicated as it might seem.
The Eco-Friendly Choice for Energy Independence
When you choose solar, you’re not just saving money; you’re also contributing to a greener planet. Solar panels generate clean, renewable energy, which means fewer greenhouse gases are released into the atmosphere. This is a simple yet powerful way to combat climate change right from your rooftop.
Your Solar Setup Checklist
Ready to get started? Here’s a checklist of what you’ll need to embark on your solar journey:
- Solar panels to capture the sun’s energy
- An inverter to convert solar power into usable electricity
- Batteries to store energy for use when the sun isn’t shining
- A charge controller to protect your batteries from overcharging
- Mounting equipment to secure your panels
- Wiring and electrical supplies to connect your system
Keep this list handy as we delve deeper into each component and the setup process.
Breaking Down the Solar Setup Process
Setting up a solar system involves several steps, from choosing the right components to installing them properly.
Choosing the Right Solar Panels for Your Needs
The heart of your solar setup is the solar panels. They come in various sizes and efficiencies, so you’ll want to select ones that fit your energy needs and roof space. To start, calculate your average electricity usage, which you can find on your utility bills. This will give you an idea of how much power you need to generate.
Next, consider the type of solar panels:
- Monocrystalline panels are highly efficient and space-saving but come at a higher cost.
- Polycrystalline panels are more affordable but less efficient than monocrystalline.
- Thin-film panels are flexible and lightweight but require more space and have lower efficiency.
Most importantly, ensure your panels come with a solid warranty and are made by reputable manufacturers.
The Role of Inverters and How to Select Them
Inverters are essential as they turn the direct current (DC) produced by your solar panels into alternating current (AC), which is what your home uses. There are several types of inverters to choose from:
- String inverters are cost-effective and ideal for systems without shading issues.
- Microinverters are installed on each panel, optimizing performance individually, especially useful if panels are partially shaded.
- Hybrid inverters combine the functions of a traditional inverter with a battery inverter, perfect for systems that include energy storage.
When selecting an inverter, consider your system’s size, the potential for shading, and whether you plan to include battery storage now or in the future.
Finding Your Solar Power Storage Solution
If you want to ensure a steady supply of power even when the sun isn’t shining, you’ll need a battery storage system. Batteries allow you to store excess energy produced during the day for use at night or during power outages. The most common types of batteries used in solar systems are lithium-ion and lead-acid. Lithium-ion batteries are more expensive but have a longer lifespan and higher efficiency than lead-acid batteries.
It’s essential to match your storage capacity to your energy needs, ensuring you have enough power to last through periods without sunlight. Also, consider the battery’s depth of discharge (DoD) and cycle life, as these will impact the long-term performance and value of your storage solution.
The Importance of a Reliable Charge Controller
A charge controller is a safety device that prevents your batteries from overcharging, which can reduce their lifespan. There are two main types of charge controllers:
- Pulse Width Modulation (PWM) controllers are more basic and economical but less efficient.
- Maximum Power Point Tracking (MPPT) controllers are more advanced and can extract more power from your panels, albeit at a higher price point.
Choosing the right charge controller will protect your investment and ensure your system operates smoothly for years to come.

Hands-On Installation: From Panel Placement to Power Up
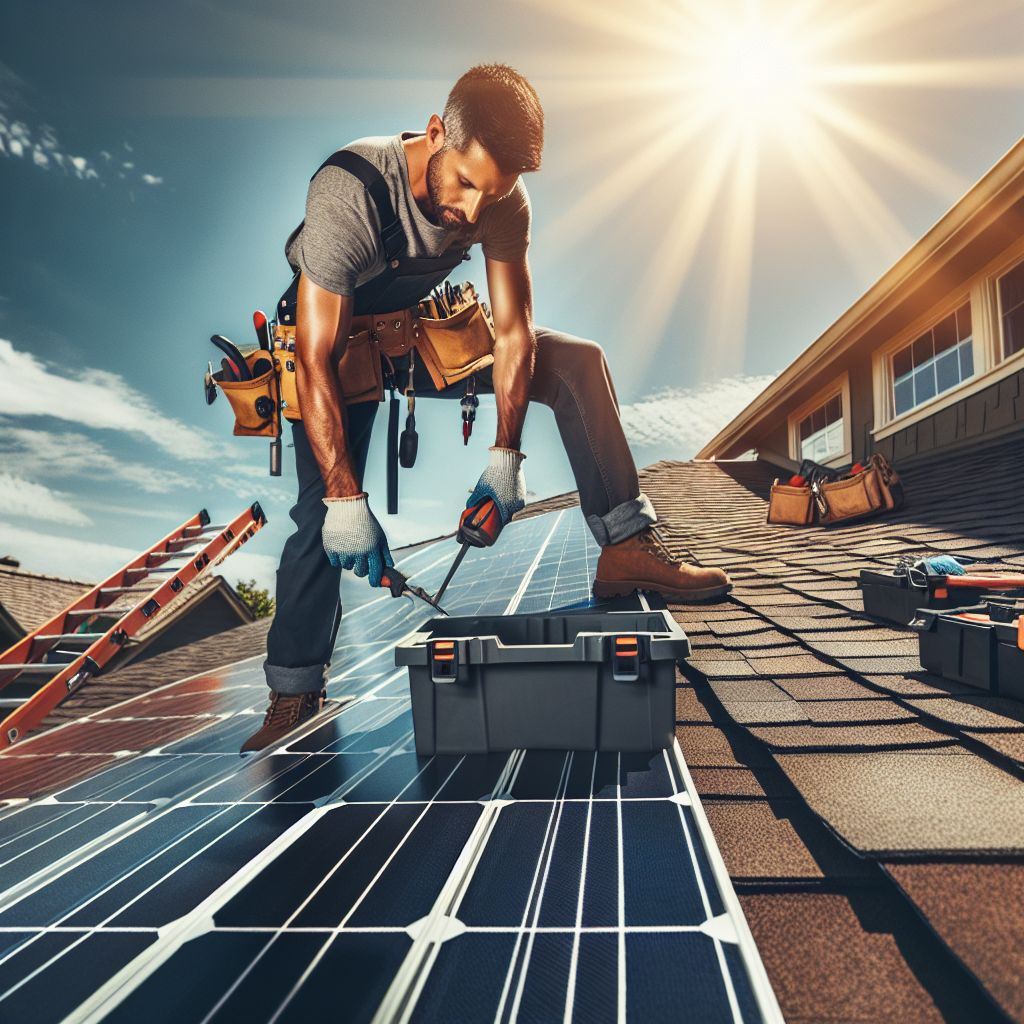
Now that you’ve selected all your components, it’s time to roll up your sleeves and get to the actual installation. With the right tools and a bit of elbow grease, you can get your solar system up and running. Remember, safety first! If you’re ever in doubt, it’s wise to consult with a professional.
Assessing Your Roof and Installation Area
Before mounting anything, you need to assess your roof. Is it strong enough to hold the panels? Is there enough space? Does it receive ample sunlight? South-facing roofs are ideal in the Northern Hemisphere, but don’t worry if that’s not an option. East or west-facing can work too, although they may produce slightly less energy.
Take note of any obstructions like chimneys or trees that could cast shade. Even a small amount of shade can significantly impact your system’s efficiency. Also, consider the age of your roof. If it needs replacing soon, it’s best to do that before installing solar panels.
Mounting the Panels: Tools and Techniques
Mounting your solar panels is a critical step that should be done with care. You’ll need mounting brackets and a racking system to secure the panels to your roof. Make sure to follow the manufacturer’s instructions closely, and don’t hesitate to ask for help if needed.
When placing the panels, leave a small gap between them to allow for cooling. Solar panels can get hot, and if they overheat, their efficiency can decrease. So, a bit of breathing room is a good thing.
Electrical Essentials: Wiring Your Solar System Safely
Wiring your solar system is where things can get tricky. You’ll be dealing with live electricity, so it’s important to follow all safety protocols. If you’re not confident with electrical work, this is where a certified electrician should step in.
However, if you’re going the DIY route, you’ll need to connect the solar panels to the inverter, which then connects to your home’s electrical panel. Use proper gauge wires, and ensure all connections are secure and weatherproof.
- Always shut off the main power before working on your electrical panel.
- Use conduit to protect your wiring from the elements and any potential damage.
- Ground your system properly to avoid electrical hazards.
Once everything is wired up, it’s time to test your connections and ensure everything is working correctly before fully powering up.
Syncing with the Grid: Net Metering Explained
If you’re connecting your solar system to the grid, you’ll likely be part of a net metering program. Net metering allows you to send excess electricity back to the grid when your panels produce more power than you need. In return, you can draw from the grid when your system isn’t producing enough.
- Your utility meter will track the energy you consume and the excess you generate.
- With net metering, you can receive credits on your electric bill for the surplus energy you provide to the grid.
- This system can significantly offset your electricity costs and, in some cases, even earn you money.
Check with your local utility company for specific net metering policies and how to get set up.

Navigating Legalities and Incentives
Legal requirements and financial incentives are critical pieces of the solar puzzle. They can affect not only the installation process but also the return on your investment. Let’s explore what you need to know.
Understanding Permits and Building Codes
Before you start installing your solar panels, you’ll need to obtain the necessary permits. These vary by location, but generally, you’ll need an electrical permit and a building permit. The permits ensure that your installation meets local building codes and safety standards.
Your system will likely need to be inspected by a local official once it’s installed. This is to ensure everything has been done correctly and safely. Make sure to schedule this inspection ahead of time to avoid any delays in getting your system up and running.
Federal, State, and Local Incentives for Going Solar
One of the best parts about going solar is the potential for financial incentives. These can come in the form of tax credits, rebates, and grants. For example, the federal solar tax credit allows you to deduct a percentage of the cost of installing a solar energy system from your federal taxes.
Many states and local governments offer their own incentives, which can further reduce the cost of going solar. These incentives can change, so it’s important to research what’s available in your area. The Database of State Incentives for Renewables & Efficiency (DSIRE) is a great resource to check out.
Maximizing Your Solar Setup
Maximizing your solar setup is about more than just installation. It’s also about ongoing care and being smart with your energy use.
Monitoring Your System’s Performance
After your solar system is up and running, you’ll want to keep an eye on its performance. Many inverters come with monitoring software that allows you to track your system’s output in real-time. This can help you identify any issues quickly, such as a drop in efficiency or a malfunctioning panel.
Regular monitoring also helps you understand your energy patterns and how to adjust your usage for maximum savings. For instance, running heavy appliances during peak solar production times can maximize your use of solar energy.
By staying on top of your system’s performance, you can ensure you’re getting the most out of your solar investment.
Routine Maintenance for Long-Term Efficiency
Solar systems are relatively low maintenance, but that doesn’t mean you can set it and forget it. To ensure your system operates at peak efficiency, you’ll need to perform some routine maintenance.
This includes cleaning your panels a few times a year to remove dirt, leaves, and other debris that can block sunlight. Also, check your system’s components periodically to ensure they’re in good working order and that there are no loose connections or damaged wires.
Remember, a well-maintained solar power system can last for decades, providing you with clean, renewable energy and significant savings on your energy bills.
Smart Energy Consumption to Increase Savings
Besides the technical aspects, smart energy consumption plays a significant role in maximizing your solar setup. Here are a few tips:
- Use energy-intensive appliances like washing machines and dishwashers during the day when your solar panels are producing power.
- Consider upgrading to energy-efficient appliances and LED lighting to reduce your overall energy consumption.
- Install a programmable thermostat to better control heating and cooling costs.
By being mindful of how and when you use energy, you can further increase the savings from your solar system.

FAQs about Home Solar Power Setup
How much can I save by setting up solar power at home?
Setting up solar power at home can result in significant long-term savings. For instance, if you eliminate a $150 monthly electricity bill, you could save $36,000 over 20 years, not factoring in potential utility rate increases. Your savings will depend on your system size and energy usage, and local, state, and federal incentives can help reduce initial costs.
What if my roof isn’t suitable for solar panels?
If your roof isn’t ideal for solar panels due to orientation, shading, or structural issues, don’t worry—there are alternatives. Ground-mounted solar systems can be a great solution if you have sufficient space on your property. These systems are installed on frames secured to the ground and can be positioned for optimal sun exposure.
Another option is to participate in a community solar program. These programs allow multiple individuals to benefit from a single, large solar array installed in a shared location. This way, you can still go solar without having to install panels on your property.
How do solar batteries work and do I really need them?
Solar batteries store excess energy generated by your solar panels for later use. During the day, if your panels produce more electricity than you’re consuming, the surplus is stored in the batteries. At night or during periods when the panels aren’t producing enough electricity, you can draw from the stored energy instead of using power from the grid.
Can I install solar panels by myself?
Installing solar panels is a complex task that involves electrical knowledge, roofing skills, and adherence to local building codes. While it’s possible to take on a DIY solar project, it’s generally recommended to have a professional installation to ensure safety and system efficiency. However, if you have the necessary expertise and are comfortable working with electrical systems, DIY kits are available.
What should I do if my solar panels aren’t generating enough power?
If your solar panels are underperforming, the first step is to check for any physical obstructions like dirt, debris, or snow that may be blocking sunlight. Regular cleaning and maintenance can prevent these issues. If the problem persists, it’s important to have your system inspected by a professional.
There could be technical issues, such as faulty wiring or a malfunctioning inverter, that require expert attention. In some cases, the system may need to be expanded to meet your energy needs, which could involve adding more panels or upgrading components.


